Turn this into....
Step 1: Gather the Supplies
For this project you will need:
1 Composition Book
Scissors

Exacto knife
Some type of glue: I prefer Mod Podge, but there are a lot of products out there. You can even use Elmers if you’d like (just apply a thin coat).
A Cutting Surface: I use a quilting cutting mat, but cardboard will work also. Just be sure to find something that your Exacto knife won’t slice through.
Beautiful Paper: For these photos, you will see that I’ve used all scrapbook paper- you’ll need for 12”x12” pieces for one journal. I
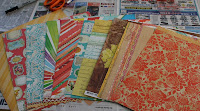 prefer the thicker paper and I like to gather all sorts of colors. If you feel uneasy about being able to select a color palette that matches, scrapbook companies make it easy for you! Just get yourself down to the nearest scrapbooking store and you’ll find that piece of scrapbook paper has a whole line of coordinating papers that will match it. It makes it so easy if you’re in a hurry or uncomfortable about pulling together papers that look good together.
One tip I recommend while shopping for any art supplies- only buy things you LOVE. That way, when you get home, you’ll have a stack of paper that delights you! Better to have too many “favorites” to choose from, than not enough :).
Step 2: Selecting the Papers You’ll Use
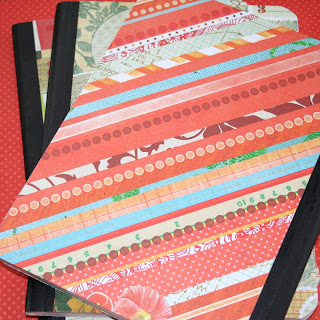
Each person will develop their own system for selecting paper. Maybe certain papers just remind you of the person you’re making the journal for, or maybe you’ve just fallen in love with a certain pattern or color. You can either choose papers that all match, or you can choose to be funky and eclectic- as long as you love the paper, it will all look great in the end!
Step 3: Gluing and Cutting the Paper

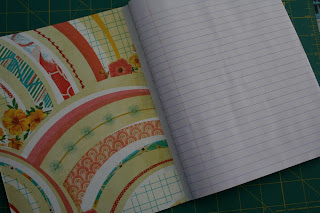
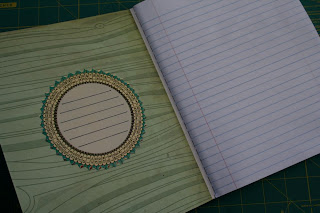
It’s pretty much as easy as it gets when it comes to the rest of the project. You will glue down your first piece of paper. You’ll want to line your paper up to the black binding tape so that none of the original composition book is showing. Be sure to smooth it out there are no air bubbles or wrinkles. You can then move right to the cutting step or choose to let your glue dry.
When you cut your paper, you’ll turn the journal so that you’re looking at the back of the piece of
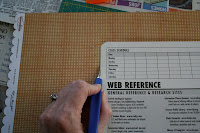 paper and you’ll glide your exacto knife right along the edge of the composition book on all sides. Yup- that’s it! Complete this step with all four sides of the book (front and back covers plus the insides too).
Step 4: Embellish!
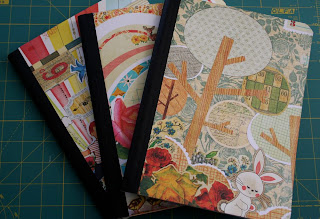
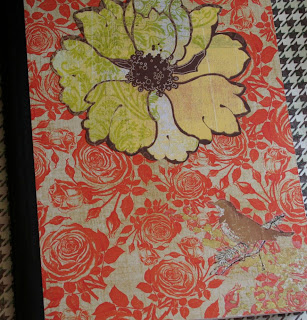
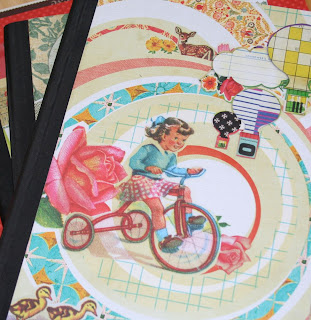
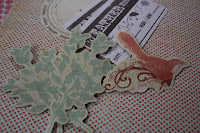 This is my favorite part. As I write this, our entire life is on a moving truck making its way to us… that includes all of my fun vintage photos and paper or else I would have embellished these puppies like crazy! The pictures with the birdies and branches are from the scrapbook store and the flower is cut out from a vintage illustration. But there are so many things you can do to personalize each journal:
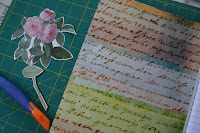 - Use stamps - Cut out words of a magazine or newspaper
- Use vintage photos of relatives
- Add ribbon or buttons
- Create memento pockets or envelopes with your leftover paper and glue it to the inside cover (if this is a gift, write a letter to the recipient and put it in the envelope for them to discover)
- Glue down bits of fabric (in fact, you can use all fabric!)
- I recently found a vintage map of the state of Oregon, which is where my husband grew up. I gave his journal (a purple composition book) a makeover while he was at work and he when he got home, he loved looking at all the different places he lived and visited as a kid!
- You can even add pressed flowers
The possibilities are endless! And the results are meaningful, beautiful and affordable!!!!
Have fun!

Here are some more photos from the project:
Have fun!

Here are some more photos from the project:


9 comments:
Love it! I have made these before--it took a bit of practice (for me, at least) to get the paper smoothed out just right and to figure out how much Mod Podge to use, etc. But the end result can be really, really cute! It makes a fun, personal gift ... and for just a little $$. You can get those notebooks for about 50 cents at Office Depot (and other places, I'm sure) during back-to-school time--a great time to stock up!
These are just adorable. Thank you for sharing. You are so creative!
Cute, Jaime! We made these in my MOPS meeting one night and they were so easy to make. We put ribbon down the front to hide the seams and added a bow. It turned out really cute!
Jaime! You're good, girl. You could seriously make a line of those and sell them to Anthropologie! What a great gift for friends that keep journals. Also, YEAH!!!!! for your 1st post. GREAT job!
So creative, love the notebooks you created!
Love these. They would make fantastic gifts for friends. I am not as creative as you Jamie, so I think I would have to Mod Podge with fabric and let that speak for itself. You are very good at putting all that paper together to make it look fantastic. Thanks!
Thanks, these are adorable so first thing Saturday I went out and bought the supplies and made 3. They are adorable and will be great gifts. Thanks!
Post a Comment